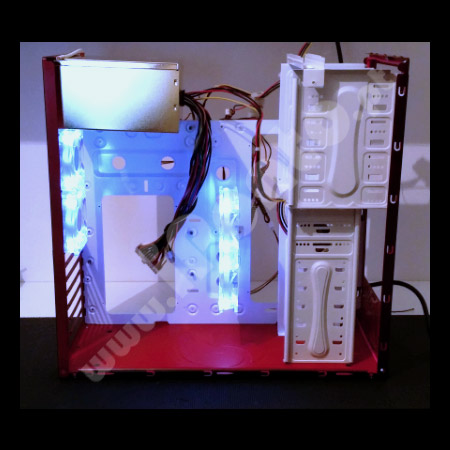
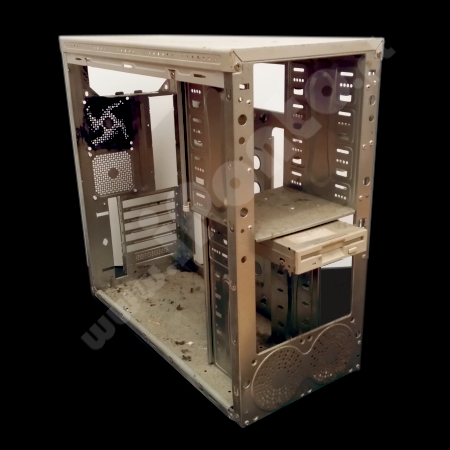
Stage 1 - Initial procedures
This Stage is, possibly, one of the longest as its needs several steps. Usually from 4 to 6.
1 - "Dirty" cleaning
2 - Structure disassembling
3 - "Detailed" cleaning
4 - Paint preparations and tests
5 - Painting
6 - Coatting

Stage 1 - continuation...
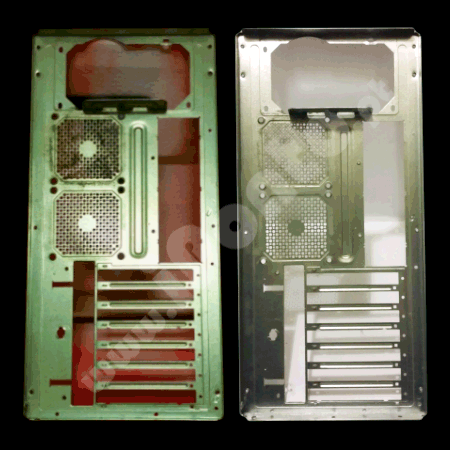
After disassembling and "dirty" cleaning are concluded comes some more detailed cleaning steps, as shown in pictures.
Following the paint preparations, the adhesion tests and the paint itself.
After painting is done a coated finish is aplied at the end, being optional.
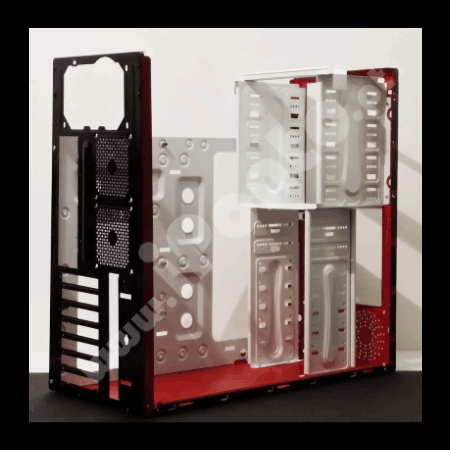
Finally the "Stage 2" begins with the structure being partially assembled.

Stage 2 - Assembling (partial)
So...the puzzle is coming together and we now have a glance of the dream.
However yet far from finished with this little reconstruction we'll jump straight towards the next stage.

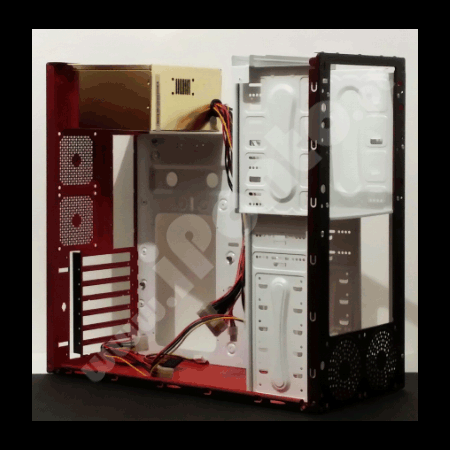
Stage 3 - Power Unit and wirings
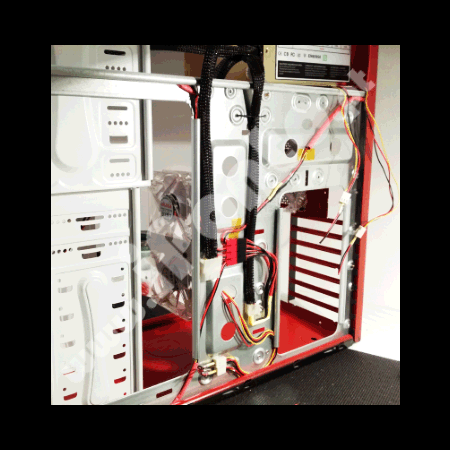
Since the power unit is in place, wire measurements can be done for all the needed cabling.
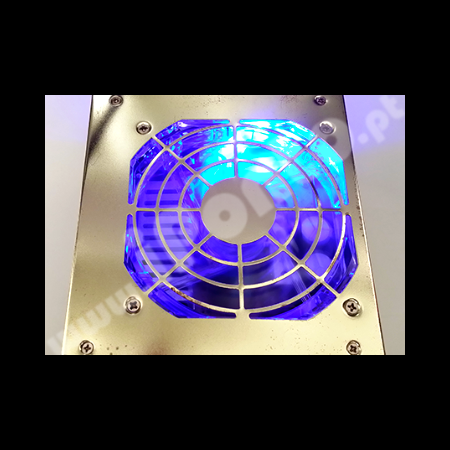
Before advancing to the next stage some modding will also be made to the power unit having a better airflow and cabling quality in mind.
If you'd like to see the modding process of this power unit click here , or go to "+projects" link.
At "Stage 4" the cooling system will be installed along with running some preliminary tests.

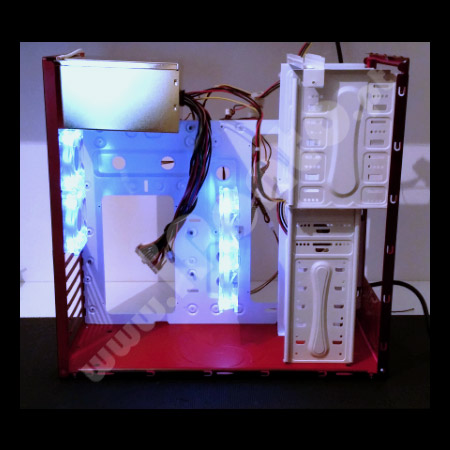
Stage 4 - Cooling and first testing
All set......fans in place, connections done...
Its now time for the first testing!
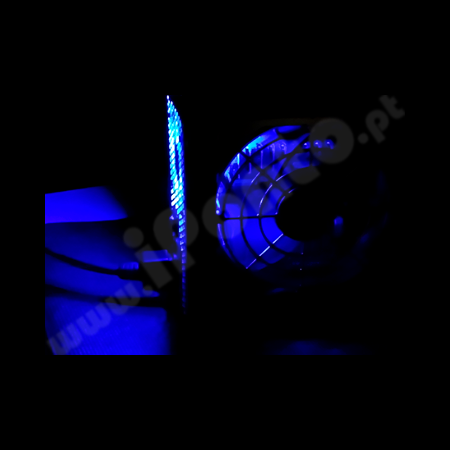
It will be possible to have a look not only at the aesthetic side but also check the air flow and efficiency.
If necessary, adjustments will be made.
For the last, at "Stage 5" some handmade led lights will be build as well as finishing the missing wire circuit.

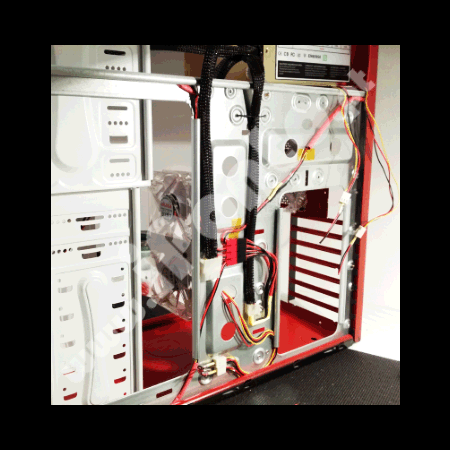
Stage 5 - Lights and final wiring
Here we have the final circuit scheme.
The front wiring is hidden and protected so we can have the desired visual effect, leaving aside the usual wiring "mess".
Regarding the connectors it was necessary to find a way to plug several components in the smallest space as possible.
Having that in mind, non standard connectors have been used as well as build.
As the final result, that will be shown later, it has been accomplished a circuit easy to maintain, clean and upgrade or downgrade in the future.

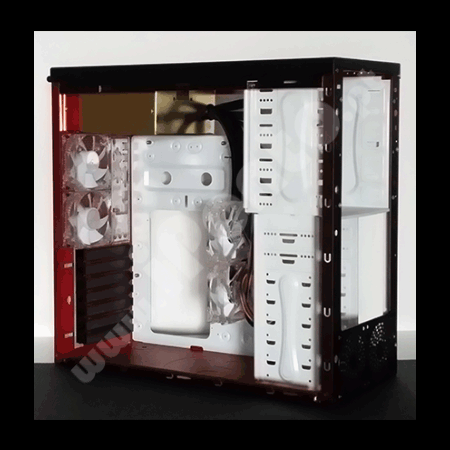
Stage 6 - Ending the structure assembling
After finish with all the cabling, testing and needed rectifications, it is time to end the structure by applying the top cover of it.
As planned, we got a clean and simple visual with all the wanted characteristics.
For the non used slot spaces it has been applied black pci dust covers, accordingly to the design and ventilation.
For "Stage 7" we have reserved the components assembling such as: motherboard, CPU (processor), cooler and other parts.


